How to Improve the Power Performance of Off-Road Motorcycles
Every off-roader has been there, stuck halfway up an uphill, and watching your bike pull away in a smooth manner. Perhaps you’ve seen your bike struggle in the sand, while other vehicles glide along. The reason for this is usually due to the power of your vehicle The good thing is you do not have to use an expert racing budget to make any meaningful improvement.
Start With the Breathing System
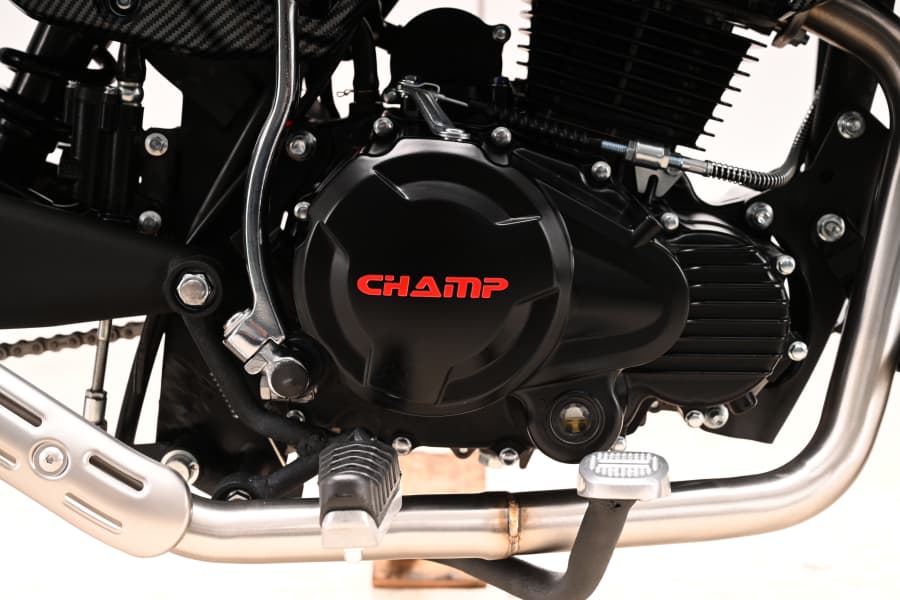
The motor’s engine is basically the air compressor. It is the more effectively it is breathing and produces power, the more energy it can generate. This is the reason the upgrades to intake and exhaust always give you the most bang for your money.
A good aftermarket exhaust can add 3 to 5 horsepower on the majority of bikes. That might not sound dramatic, but you’ll feel the difference immediately–especially in mid-range throttle response where off-road riding happens. I’ve tried every type of system from low-cost slip-ons up to full titanium exhaust systems and here’s the thing that matters Look for systems that are lighter and improve flow. An excellent exhaust should not just be loud, but it should also be more powerful throughout the entire range of RPM.
The intake area also requires equal focus. Air filters in the stock version place emphasis on longevity of the engine over performance, and that means they block airflow. Filters with high flow from companies like Twin Air or No Toil will increase the flow of air by 20% to 30% while safeguarding your engine. Keep in mind that increasing airflow means you’ll need more fuel. This is why we’re talking about jetting.
Fuel Delivery Makes or Breaks Your Upgrades
This is something that most people do not realize that upgrading your exhaust or air filter without changing the fuel delivery. It’s like setting up a bigger tank for gas and keeping the same small fuel line. It’s not delivering the full benefits.
For carburetor bikes, correct jetting is a must. Temperature changes, altitude, and temperature can affect the jetting your engine requires. I make detailed notes on my jettting specifications since what works at sea level will be ineffective at 6000 feet in October. Begin with the main jet. Moving one size higher is generally the best option following the installation of an exhaust system that is performance.
Fuel-injected bikes need ECU adjustments. Sure, an aftermarket fuel controller is $300-400 however, it’s the different between unlocking your upgrade’s potential or making a costly noise. Modern fuel injection technology is advanced however, the default maps are sloppy. The correct tuning can give you 10 percent more power throughout the entire vehicle.
Performance Upgrades That Actually Pay Off
Not all modifications deliver equal value. Based on actual testing and many hours spent on tracks, we’ll show you how the different improvements are compared:
| Upgrade Category | Cost Range | Power Gain | Installation Difficulty | Best For |
| Full Exhaust System | $600-$1,200 | 3-5 HP | Moderate | All riders who want to see improvement |
| High-Flow Air Filter + Jetting | $80-$150 | 2-3 HP | Easy | Budget-conscious, first-timers |
| ECU Tuning/Fuel Controller | $350-$600 | 4-7 HP | Moderate | Other modifications for fuel-injected bikes |
| Big Bore Kit | $800-$1,500 | 8-12 HP | Difficult | Experiential riders, bikes with a history |
| Complete Engine Rebuild | $2,000-$4,000 | 15-20 HP | Professional | Competitive racing |
The sweet spot for most riders is the exhaust-filter-tuning combination. It will cost you around $1,000 and get 8-10 horsepower and more responsive throttle throughout all revs.
Gearing: The Free Performance Upgrade
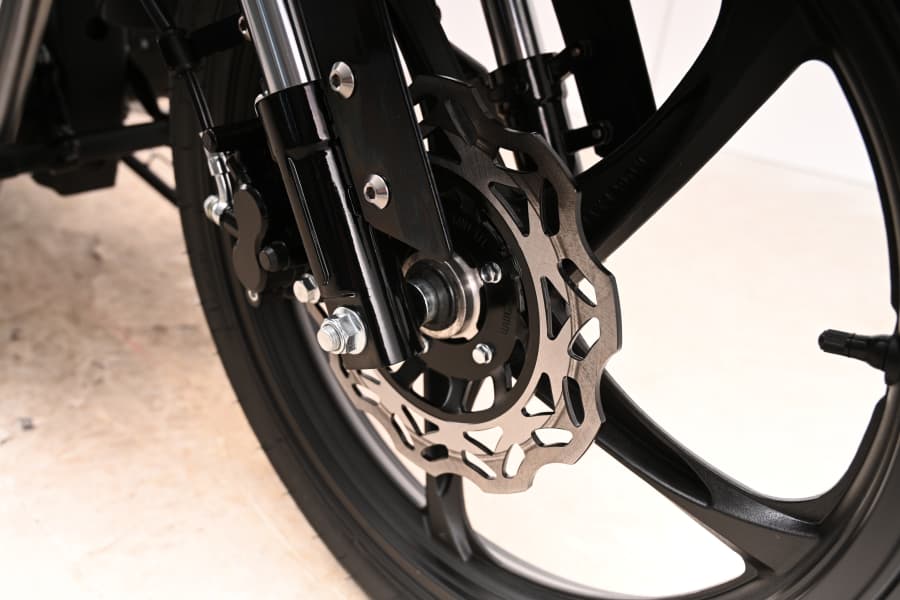
The change in your sprockets could be the least talked about modification you can make to your off-road bike. It’s not going to improve the power of your engine however it will dramatically alter how much power gets to the ground.
Two teeth going up on the back the sprocket (or going down one of the front) transforms your bike the tight technical terrain. You’ll be able to pull more forcefully from corners and drag through rough terrain without pressing. What’s the tradeoff? You’ll be sacrificing approximately 5 miles of speed. If you’re riding trails, this is something I do every time.
Here’s what various gearing configurations can accomplish:
| Riding Style | Front/Rear Change | Acceleration | Top Speed | Best Use Case |
| Stock Gearing | 0/0 | Baseline | Baseline | Mixed terrain General use |
| Technical Trail | -1 front or +2 back | +25% | -8% | Woods, rocks, and tight sections |
| Desert/Fast Trail | +1 front, or -2 back | -15% | +10% | Open terrain, sections with high-speed |
| Extreme Enduro | -1 front and +2 rear | +40% | -15% | Hillclimbs, extremely technical riding |
| Dual Sport/Adventure | -1 front or -1 back | -10% | +6% | The highway commute |
In the last month, I changed to a 13/52 mix (from the stock 14/50) for an endurance race. The bike felt as if it had gained 15 horsepower while in the woods, but not because it did, but simply because the power came exactly when I required it.
Weight Reduction: Power You Don’t Have to Buy
The weight loss of 10 pounds off your bike will have the similar effect to adding around two horsepower into your motor. This is the reason I pay attention to weight before I chase big engines.
Begin with the obvious: replace your lead-acid batteries with a lithium battery. You’ll save up to 4-6 pounds for around $150. Switch the steel brake rotors to discs that are lightweight (another two pounds). Replace the skid plate you have with one made of carbon when your budget allows.
The bike I have is 238 pounds and is ready to ride. This is 11 pounds lighter than the stock. With a 6 horsepower boost due to tuning and exhaust the power-to-weight ratio improves huge. Contrary to engine modifications weight reduction does not increase maintenance or affect the reliability of your vehicle.
The Maintenance Edge
It’s not sexy and regular maintenance can be worth 5 to 7 horsepower on an unmaintained bike. Filters that are dirty, worn out spark plugs and worn chains all make power. I make sure to check the clearance of valves every 20 hours, since tight valves will cost you horsepower and compression.
Fresh oil is more important than most people think. I use full synthetic oil and replace each 8-10 hour period of intense riding. It’s not because the oil is degraded in the off-road environment, but because it generates metal particles that are a threat to even the finest lubricants.
Building Your Upgrade Path
Don’t try to accomplish everything all at once. This approach is logical for the majority of riders:
- (Under $500) Air filter with high flow properly jettting, or fuel control base tune, new fluids and a thorough examination. This will improve the foundation you already have.
- ($500-$1,200) The complete exhaust system ECU mapping, and gearing adjustments for your specific terrain. Now you’re getting some serious performance.
- ($1,200plus) Kits for big bores and internal engine work complete engine rebuilds using performance components. This is where the top riders are.
I was there for three years. Stage 1, learned my bike from the inside out and grew as a cyclist before deciding to invest in Stage 2 improvements. The patience paid off as I knew precisely what I required when the moment arrived.
The Real Secret
This is what’s been ignored the most powerful performance upgrade will be seat time. I’ve had to be snubbed by people who were riding bone stock bikes, due to their speed. through corners and chose more efficient lines. Learn to master your bike before changing it.
That said, when you do upgrade intelligently–starting with breathing mods, optimizing fuel delivery, adjusting gearing, and reducing weight–you’ll notice immediate improvements. Your bike will perform better and respond more quickly, as well as tackle technical terrain with greater confidence.
The correct modifications don’t only make your bike more powerful. They can make your bike appear as if it was intended to be ridden in this manner.

